

Common Setup: Tripod, RAW, ISO 100-200, aperture f/7.1-f/11, turn off IS/VR, turn off auto-WB.
Option 1: Use AEB (Auto Exposure Bracketing):
Menu → Bracketing / AEB → 3 frames
Set EV step (0.7 / 1 / 2 EV). ±1EV or ±2EV is common for interior shots.
Continuous / Burst mode.
Press the shutter.
Option 2: Manual Mode:
Set aperture (e.g., f/8) and ISO.
Adjust shutter speed for 3 exposures (e.g., 1/60, 1/125, 1/30 for 0EV, -1EV, +1EV).
Use a tripod and remote/timer.
✨ Post-Processing Magic
Merge HDR: Use Lightroom / Camera RAW for quick but potentially artificial HDR.
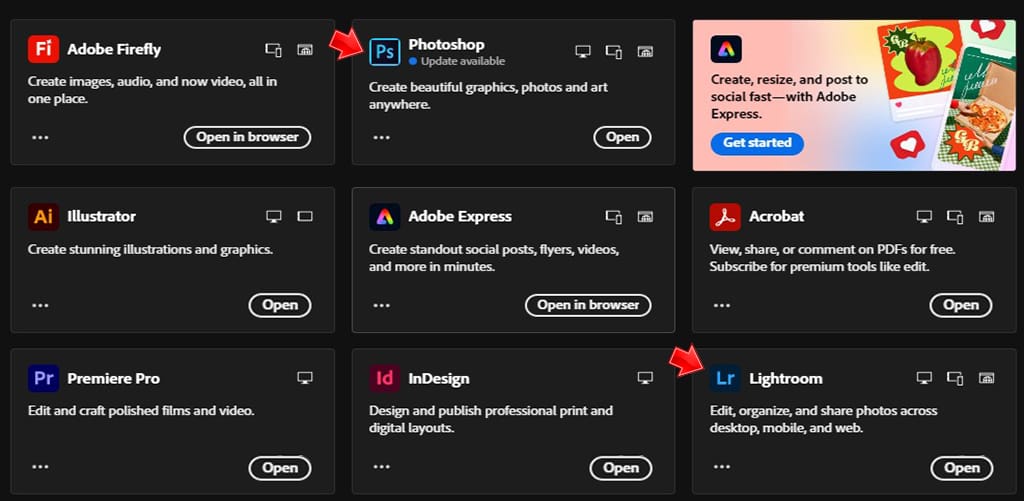
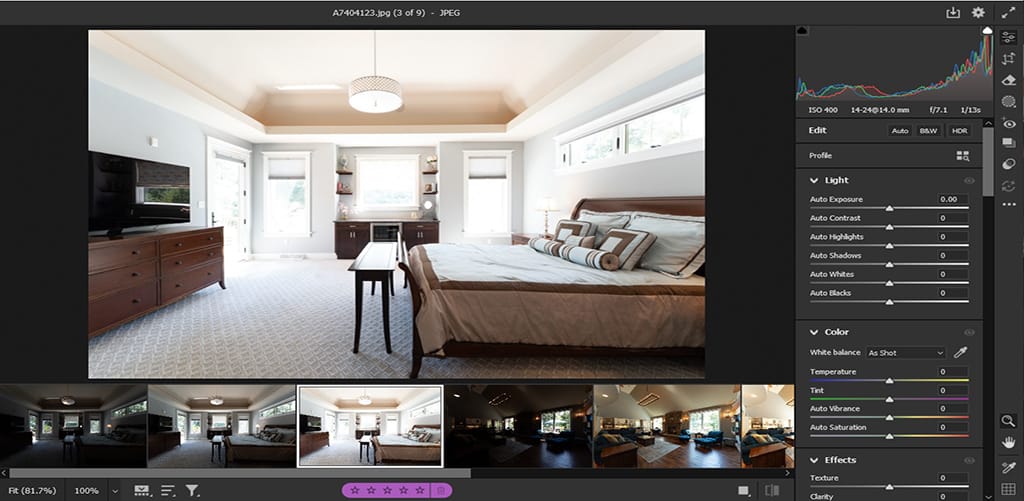
Manual Blend: Use layer masks in Photoshop for the best results:
👉 Use the underexposed image for windows.
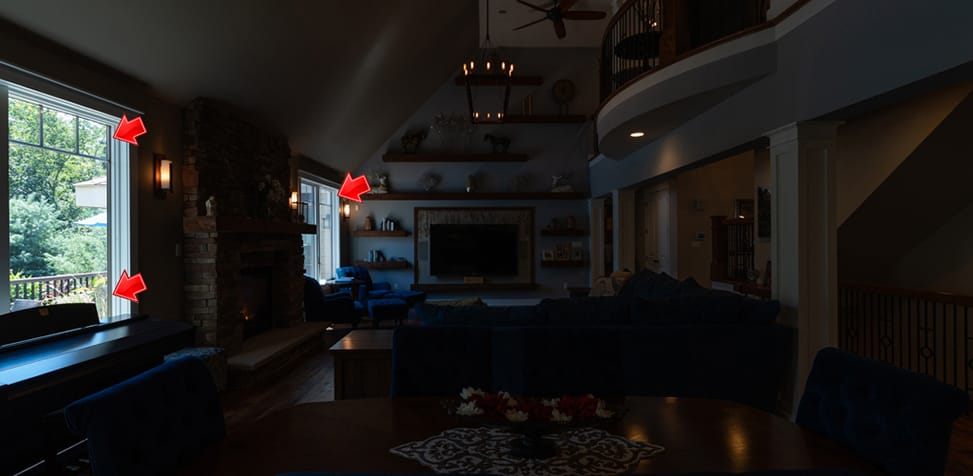
👉 Use the overexposed/mid image for interior, ceiling, and corners.
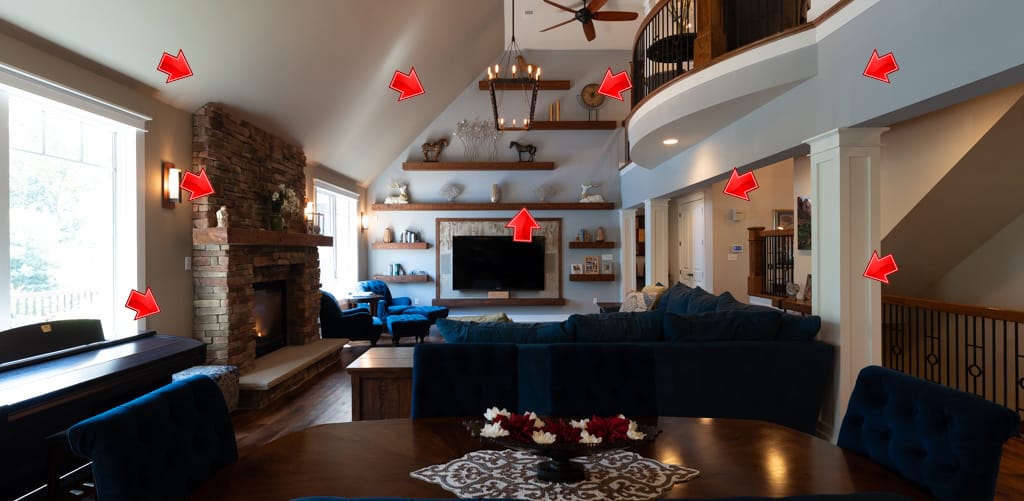
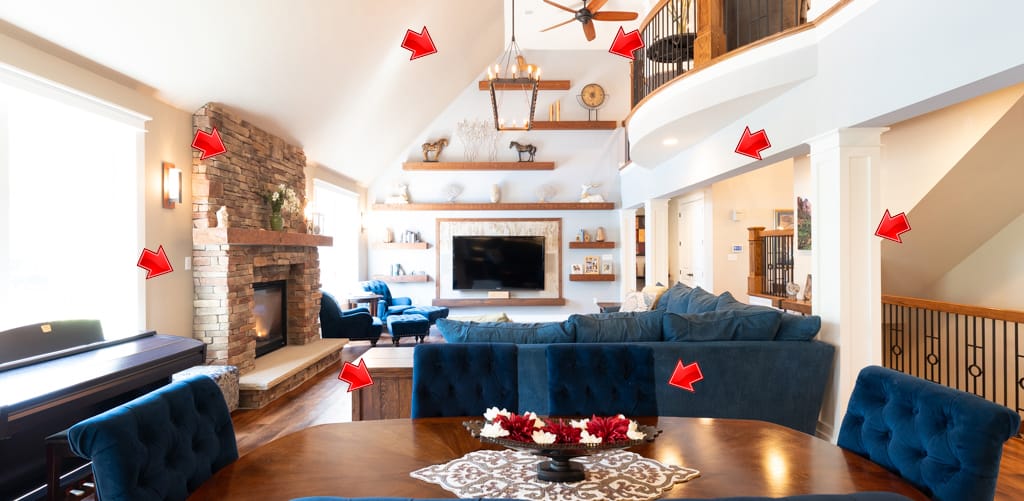
Blend using feather/mask brush.
You can “learn more” about this in some of our articles below:
💥 UNLOCK THE UNSEEN: Transform Your Photos with HDR 3 Bracketing!
💥 UNLOCK THE UNSEEN: Transform Your Photos with HDR 5 Bracketing!
🎨 Bonus Technique: Flambient
Mix flash (for accurate color) + ambient bracket (for natural light) to get both accurate color and balanced lighting.
📋 Essential Checklist:
RAW, tripod, ISO 100, aperture f/8 — f/11.
AEB = 3 frames, step = ±1 EV or ±2 EV.
Continuous low / timer 2s / remote.
Fixed/manual white balance.
🚨 Common Mistakes (And How to Fix Them!)
Ghosting: Shoot in burst mode.
Halo: Avoid excessive tone mapping. Blend manually.
WB Issues: Set white balance before shooting.
Blurry Photos: Use a tripod + remote/timer.
🚀 Ready to Transform Your Real Estate Photography?
👉 Learn the exact settings, blending techniques, and post-processing secrets that top agents use to sell properties faster and for higher prices. Don’t let another listing go unnoticed. Your dream clients are waiting!